
A Simple Way to Prep Your Photos for Scanning: Grab a Few Good Storage Bins
The weeks after the holidays are a great moment to gather the supplies you need for a photo-organizing project. Many people are already putting decorations away, tidying closets, and clearing space—so it’s a natural time to pick up a few plastic storage bins for your photographs as well. Even a couple of small containers can make the whole process feel calmer and more manageable.
Why Storage Bins Help So Much
A sturdy container keeps your photos protected while you sort and prepare them for scanning. It prevents bending, dust, spills, and accidental mixing, and it gives you a simple system to work in small, manageable batches. Small shoebox-style containers are wonderfully portable — easy to carry from room to room or tuck beside you on the couch while you sort — so your project can move with you without taking over the whole house.
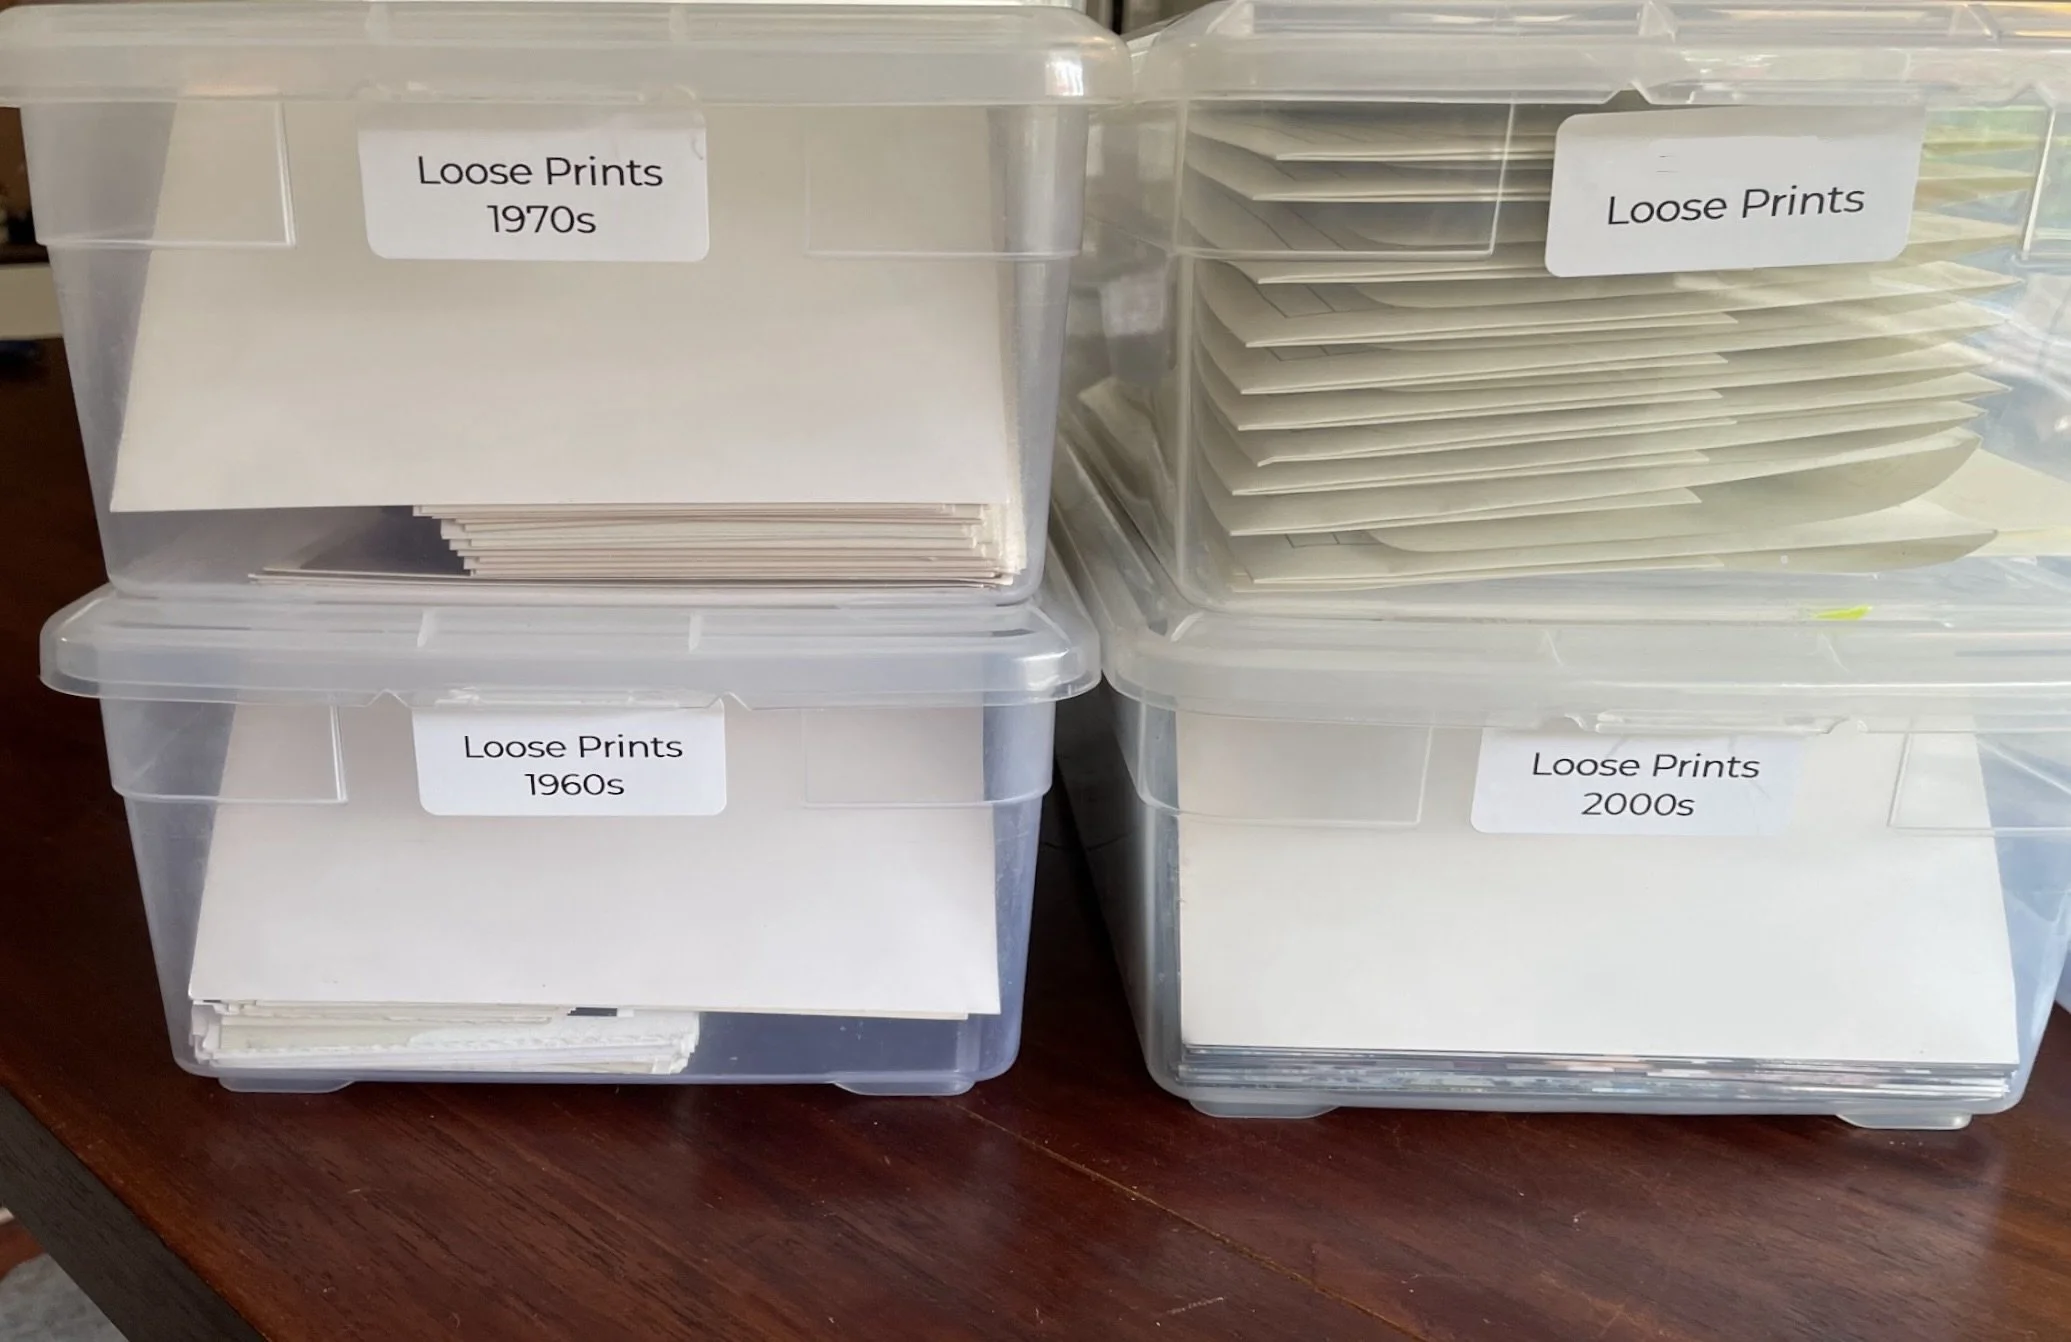
Small Shoebox-Style Bins
These compact containers are ideal for:
Loose 4×6 prints
Polaroids and small memorabilia
Photo envelopes and negatives
They’re easy to label, stack, and tuck away. Because they hold only a limited number of prints, they make the job feel less overwhelming and let you sort by event, person, or time period in bite-sized chunks.
Medium and Large Totes
Use these for:
Photo albums and scrapbooks
Oversized prints and framed photos you plan to remove and digitize
Larger groupings you haven’t had time to go through yet
Larger totes act as safe holding areas for whole projects until you’re ready to break them down into smaller stacks for scanning.
Labeling & Tools That Help
A few inexpensive supplies make a big difference:
A photo-safe pencil (for lightly writing names, dates, or notes on the back of prints)
Masking tape or removable stickers (for labeling bins, envelopes, and bundles)
Optional: a notebook, index cards, or a simple spreadsheet to track what you’ve scanned and what’s left
Using removable labels and a pencil means you can mark things clearly without damaging photos, and you’ll always be able to change your system as you go.
How This Helps Your Workflow
Once you’ve gathered a few bins and labeling tools, you can:
Sort in short, stress-free sessions
Carry a small box to a comfortable spot and work there without spreading photos everywhere
Protect fragile, curled, or warped prints
Weed duplicates as you go
Keep scanned batches separated from those still waiting their turn
A few well-chosen containers make a messy box of mixed photos into something organized and approachable—one small stack at a time. Once you’ve made your first pass and things are in bins, you are ready for your next steps. If you would like help with those next steps, reach out and we will be happy to help you!