10 STEPS FOR ORGANIZING YOUR ANALOG MEDIA
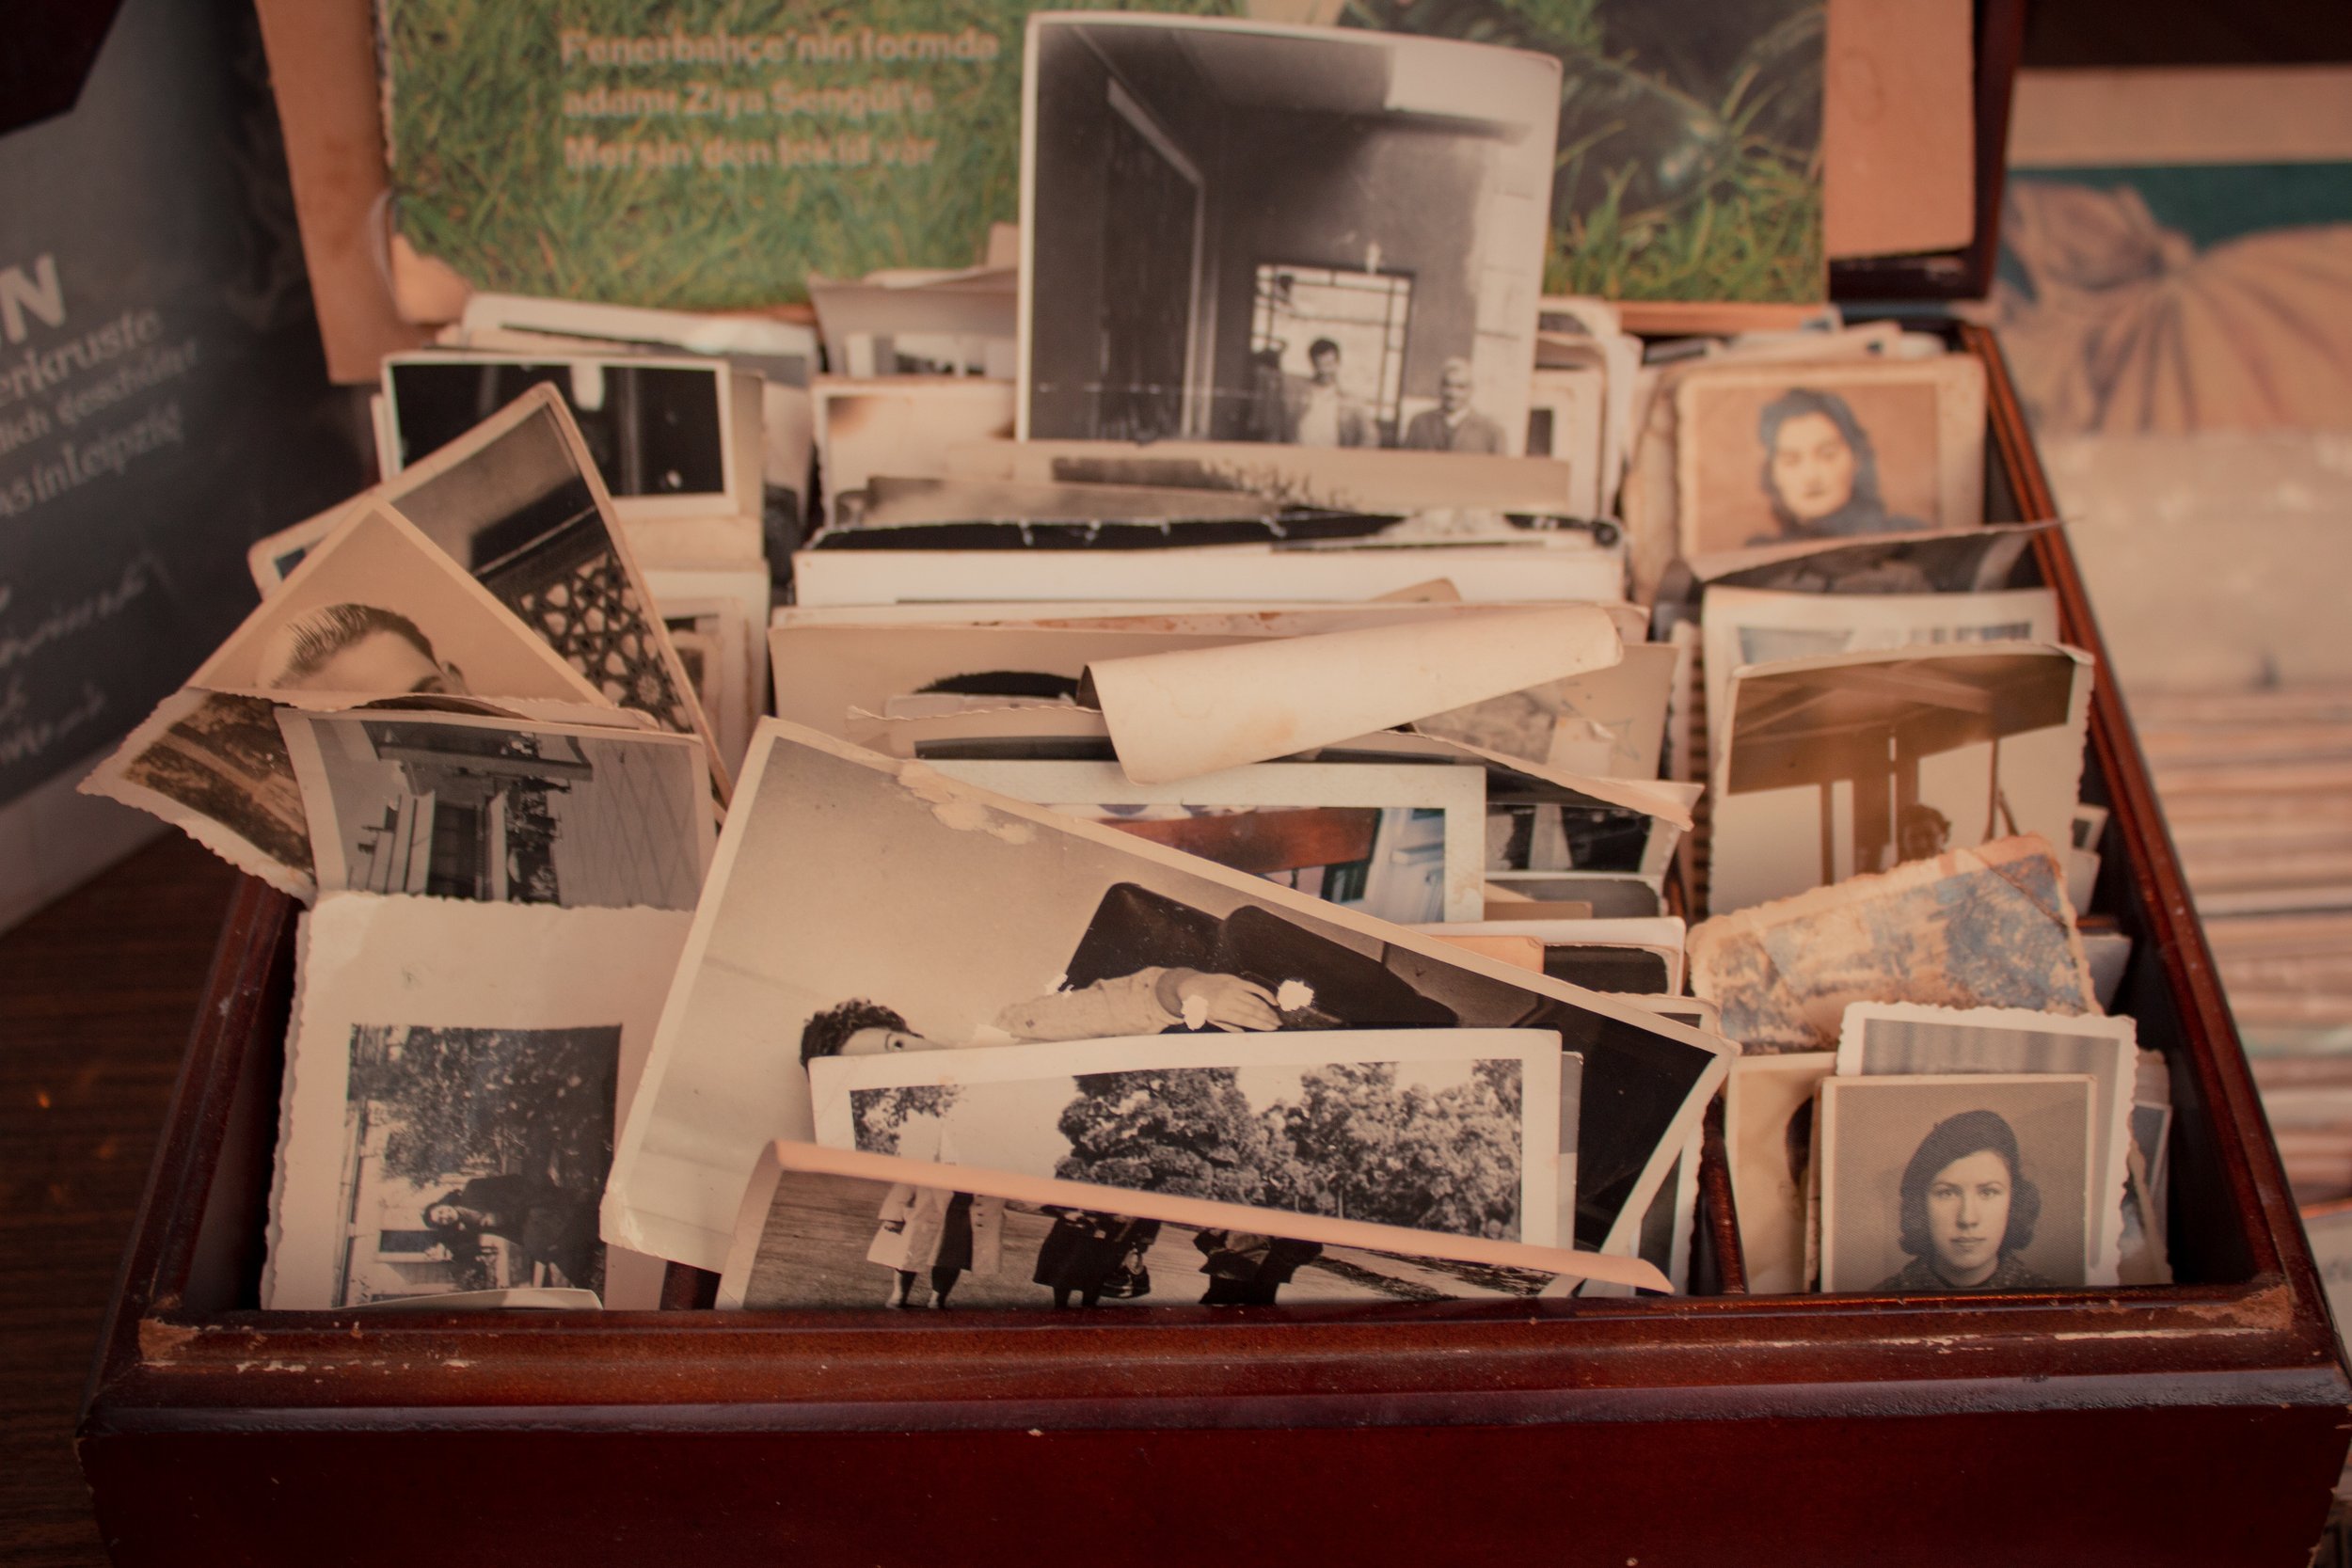
We all have them — those old boxes of photographs our moms and grandmothers gave us, tucked away in a closet or spare drawer somewhere. You’ve been thinking about digitizing some of them for years now, but the idea of sorting through them to pick out the best ones feels like a task for another day.
Well today is finally the day! Open up your closets and drawers, grab your boxes (and maybe a glass of wine), because we have 10 easy steps for you to follow to get started on your photo organizing journey.
1.) Sort by type
We recommend you start by sorting your analog media by type. This allows you to take inventory of what you have, and breaks down the process into smaller, easier groups so that it doesn’t feel so overwhelming.
You should make separate groups for the following:
• Albums
• “Small prints” (6x9 or smaller)
• “Large prints”
• Framed photos
• Slides
• Cassettes, VHS, DVDs, VHS-C, etc.
• Negatives — if the negatives are with a stack of corresponding prints, we recommend you do not separate these. Just put them in the pile with the prints.
2.) Cull your Images
Now that you have your media organized into neat little groups, it is time to go through each group. Make three piles for each group. One pile will be what you want to have digitized, one pile will be media you don’t want to scan but do want to keep, and one pile will be media you want to get rid of.
3.) Get archival materials
After you’ve discarded the “get rid of” pile, you need to maximize the longevity of your remaining media. The best way to do this is to get archival envelopes and boxes. There is a variety of sizes and brands to choose from and a quick google search will give you a lot of options. Make sure to measure your largest print to ensure you can find an archival envelope and box to fit it.
If you are not attached to the layout of your albums, sometimes it is a good idea to take the prints out of it. A lot of older albums were made using adhesives and plastics that break down prints over time. If you do not want to take your photos out of the album, as most of us do not, we recommend you prioritize scanning in those album pages so that you have a digital copy of those prints that will last longer than the physical print should it deteriorate over time.
Don’t forget about archival boxes and envelopes for your slides and negatives! These can easily deteriorate and lose their proper colors over time as well.
4.) Sort by year or event
Once you have everything nice and protected in your archival envelopes and boxes, it is time to get into the “to digitize” pile of prints. These are the photos you want a digital copy of. The best way to organize these is by either date or event. This allows you to easily find any image, even before digitizing, as they will already be in the proper order.
5.) Digitize
This is the fun part! Invest in a nice scanner, or find a professional photo organizer to help you. Some media, such as VHS, cassettes, slides, etc. will probably need to be outsourced as they require software and machines that are not worth the money if you are not doing this full time. You can find pretty nice and affordable scanners online.
6.) Label your digital copies
As you digitize your photos we recommend you change the file name of each digital copy to include any written descriptions on the backs of your prints or media. This allows you to keep any important details right in the file name of the digital copy so that that information does not get lost.
7.) Restore your images
A lot of times our old prints, unless properly stored, will shift in color or break down in spots. Sometimes they may have suffered water damage or rips and bends from moving place to place. For the really important and really old family images, it is a good idea to do a little restoration on the digital copies. This way, if you, or a future generation, wants to print the image again it will be at the best quality possible.
8.) Invest in a photo management software
There are a ton of options out there for photo management software. We highly recommend investing in one as they offer even more ways to organize and find your images. After putting in all of the work to sort and digitize your media, you should have a good way to view it! Plus, in most software you will be able to search for the words in those file names you created and the images will show up.
9.) Reprint your images
Now that you have digital copies of your images, you can reprint them at a different size, or on a nicer paper. You can then give them away to other family members and friends without having to give away the original copy.
10.) Show your images off
Now that you have your images nicely organized and digitized, you should show them off! Create new albums or hang them on your wall. Family photos are meant to be enjoyed.

